|
|
|
|
|
|
|
|
|
|
|
| |
|
 |
|
|
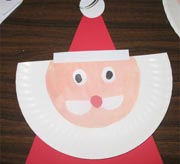
How to Make Santa Claus from Paper Plate.
This project is somewhat complicated and is best suited for 6-7-year-old children. It takes about 30-40 minutes to complete, and there are quite a few different techniques involved. But your child will learn a lot of new things: color mixing, cutting with scissors, gluing and making an arrangement with a number of different shapes. You can decide what your child needs help with and what they can do themselves, according to their skills.
Materials:
1. Acrylic, gouache, or tempera paint (white, red and yellow)
2. Brush and a glass of water
3. White paper plate
4. A sheet of a dark red construction paper
5. A sheet of printer paper
6. Scissors
7. Glue
8. Ruler and pencil
9. Black crayon/marker for drawing eyes
10. 2 cotton balls (optional)
11. A string for hanging (optional)
|
|
|
|
|
Instructions:
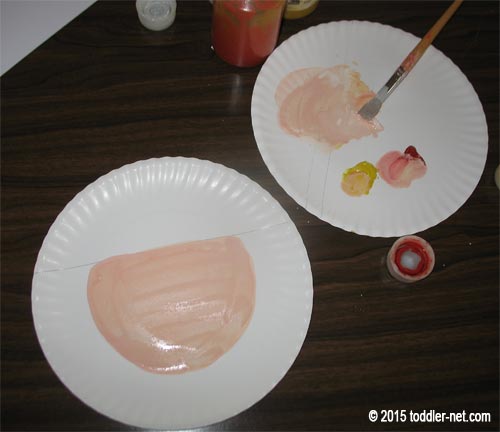
1. Draw a straight line on the paper plate with a pencil to mark the face.
2. On a separate plate/piece of paper, mix white, yellow and red colors to try to make a nude color of a face.
3. Color the face and let it dry for a few minutes.
|
|
|
 |
|
|
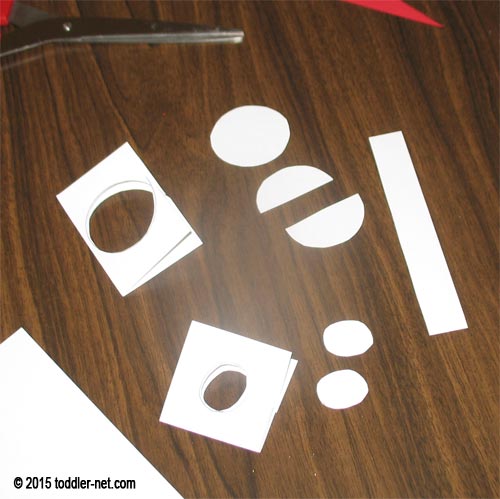
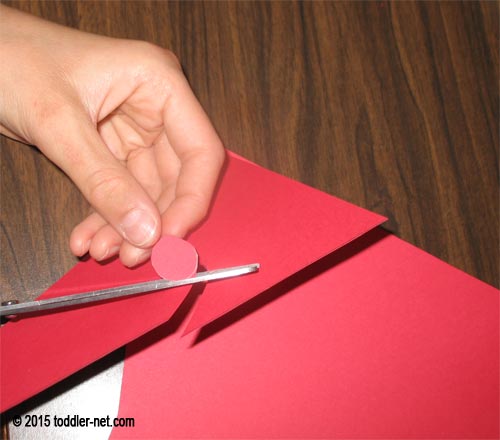
4. Cut out 2 equal circles from a piece of printer paper. To make it easier for your child first cut out a small rectangular piece, fold it in half, draw a circle on it and ask your child to keep the piece folded while cutting out. This way your child will learn how he can easily cut out 2 equal circles at once. Explain that if you fold a paper further you can get more equal shapes at once. It's a very useful technique.
5. Cut one of the circles in half, these half-circles are going to be “mustache”.
6. For eyes use the same technique as for the other circles, just make them smaller and more of an oval shape. Draw dark pupils with a marker.
7. Cut out a rectangular strip of paper about 4.5x3/4 inch from the leftovers of paper plate. It will be Santa's hat trim. |
|
|
 |
|
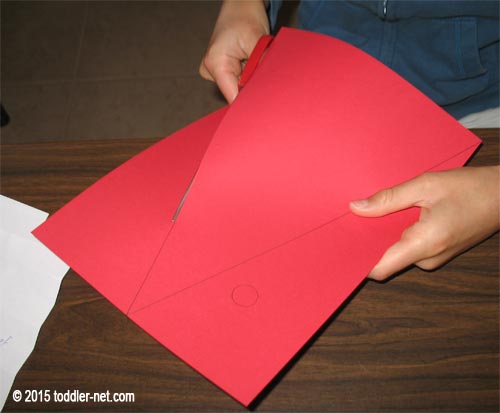
| 8. Put red construction paper horizontally and make a mark in the middle of one of the sides. Connect the opposite corners with the mark using a ruler and a pencil. Cut out this large triangle to use as the body. |
|
|
 |
|
| 9. Cut out the nose from red paper leftovers. |
|
|
 |
|
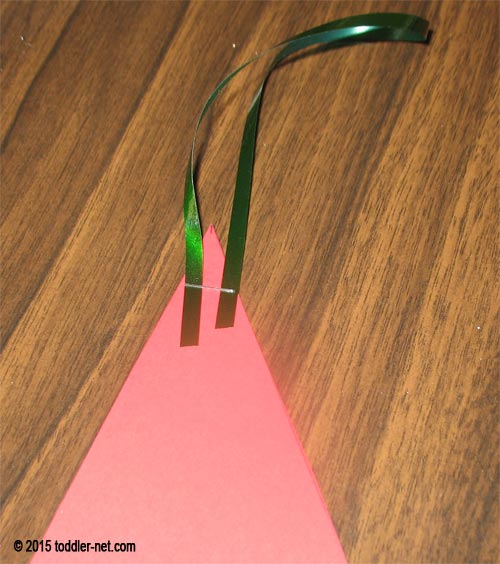
| 10. Staple the hanging string to the top of the triangle using a stapler. Later you will cover it with the white circle. |
|
|
 |
|
|
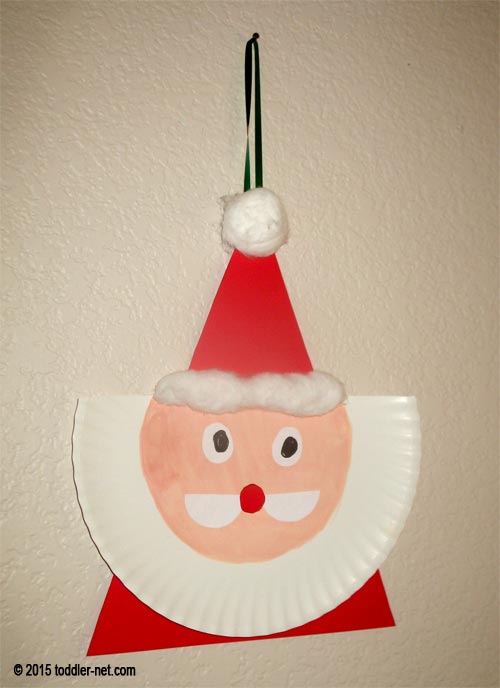
By this time the face should be dry.
11. Arrange all the pieces together and then glue them together.
|
|
|
 |
|
|
| 12. Optional. Attach a cotton ball to the top of the hat and then stretch another cotton ball and attach it to the white trim of the hat using glue. |
|
|
 |
|
|
|
|
|
More Christmas and Winter Arts and Crafts: |
|
 |
|
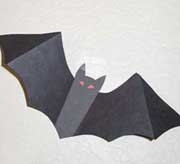
We have other fun crafts for children such as this paper Bat:
|
 |
|
|
|
|
|
|
|
|
|
|
|
|
|
|
|
|
|